03. Create a Google Maps Project
L4 A02 Create A Google Maps Project
Reference Documentation
Create the Wander project with the Maps template
- Create a new Android Studio project.
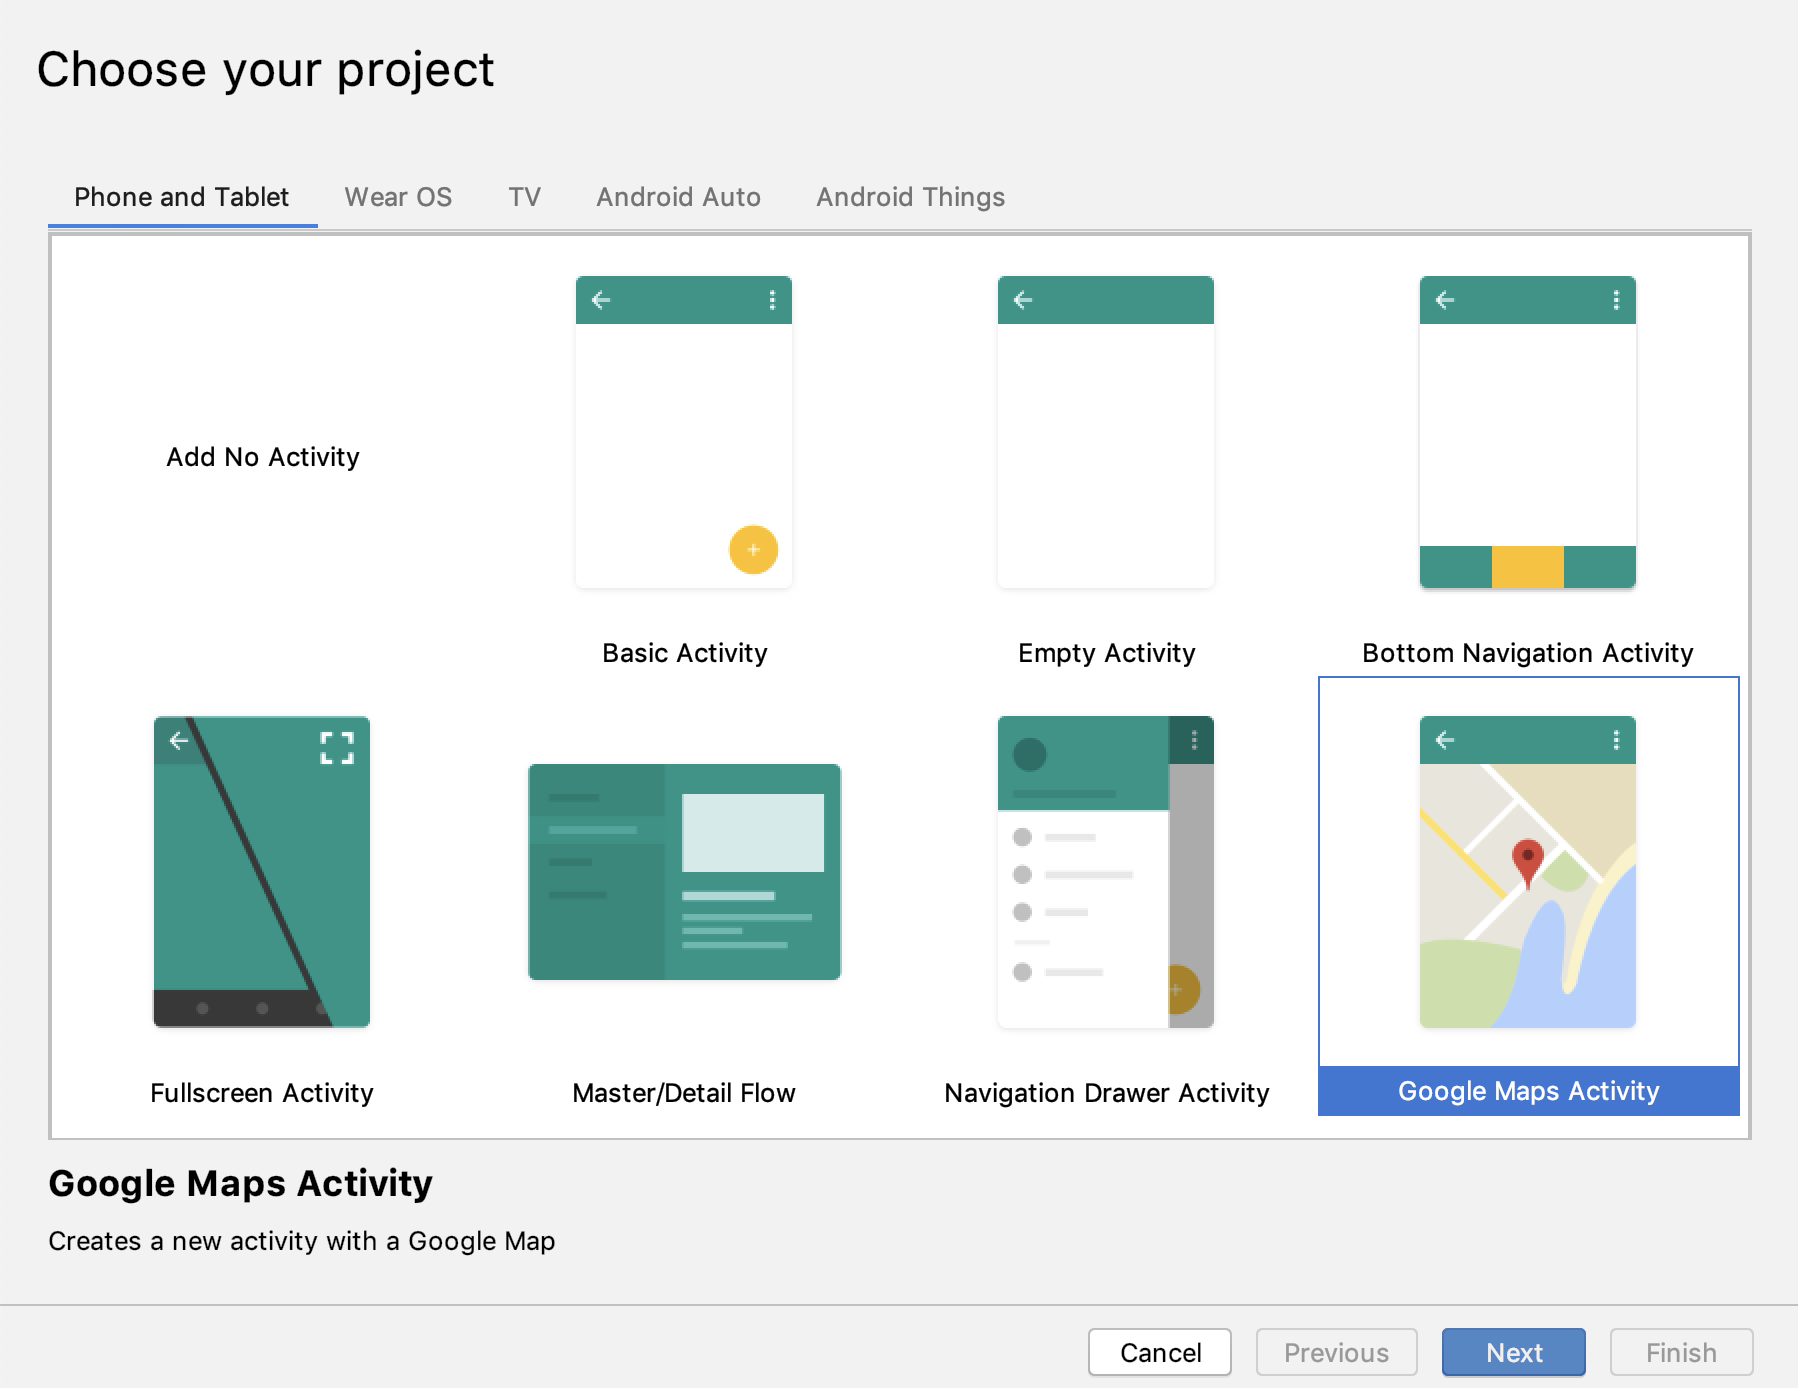
- Select the Google Maps Activity template.
- Name the project Wander.
- Make sure the language is Kotlin.
- Set the minimum API level to API 19.
- Click finish.
Android Studio creates several maps-related additional files:
MapsActivity.java
The MapsActivity.kt file instantiates the SupportMapFragment in the onCreate() method and uses the class's getMapAsync() to automatically initialize the maps system and the view. The activity that contains the SupportMapFragment must implement the OnMapReadyCallback interface and that interface's onMapReady() method. The onMapReady() method is called when the map is loaded.
activity_maps.xml
This layout file contains a single fragment that fills the entire screen. The SupportMapFragment class is a subclass of the Fragment class. A Support Map Fragment is the simplest way to place a map in an application. It’s a wrapper around a view of a map to automatically handle the necessary life cycle needs.
You can include SupportMapFragment in a layout file using a <fragment> tag in any ViewGroup, with an additional attribute:
android:name="com.google.android.gms.maps.SupportMapFragment"google_maps_api.xml
You use this configuration file to hold your API key. The template generates two google_maps_api.xml files: one for debug and one for release. The file for the API key for the debug certificate is located in src/debug/res/values. The file for the API key for the release certificate is located in src/release/res/values. In this practical you only use the debug certificate.